
Power washing your home siding can be a rewarding DIY project that not only enhances the curb appeal but also helps maintain the longevity of your property. Here’s a step-by-step guide to ensure you power wash your home siding like a pro.
Understanding the Basics:
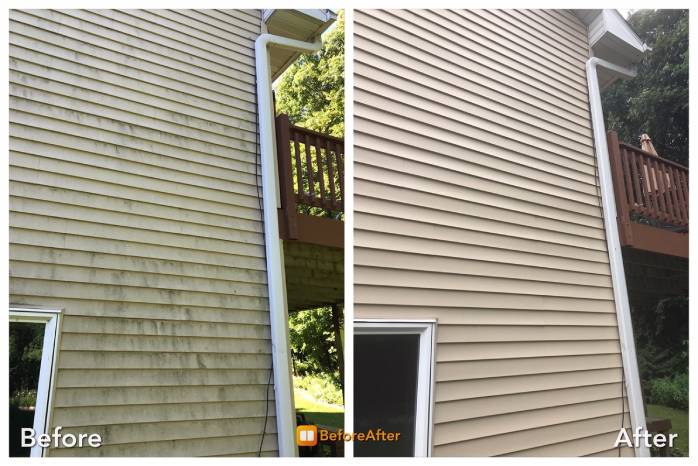
Before diving into the power washing process, it’s crucial to understand the basics. Power washing, also known as pressure washing, involves using a high-pressure water spray to remove dirt, grime, mold, and other contaminants from surfaces. In the case of home siding, it helps restore the exterior to its original state.
Gathering the Necessary Equipment:
To get started with your power washing project, gather the necessary equipment. You’ll need a pressure washer, appropriate detergent, safety gear (goggles and gloves), and a ladder. Ensure the pressure washer is suitable for home use and has adjustable pressure settings to prevent damage to the siding.
Prepping the Area:
Before firing up the pressure washer, take the time to prep the area. Cover nearby plants, electrical outlets, and windows with plastic sheeting or drop cloths to protect them from the water and cleaning solution. Additionally, remove any obstacles that might obstruct your path while washing.
Applying the Cleaning Solution:
Most power washing projects benefit from the use of a cleaning solution. Apply an appropriate siding cleaner to the surface, starting from the bottom and working your way up. Allow the solution to sit for a few minutes to break down dirt and grime effectively.
Using the Pressure Washer:
Now comes the main part – using the pressure washer. Start at a low pressure and gradually increase until you find the right balance between effective cleaning and avoiding damage. Keep the nozzle at a 45-degree angle to the siding to prevent water from getting behind it, which could cause structural damage or mold growth.
Working in Sections:
To ensure thorough cleaning, work in small sections. Move systematically from one end to the other, overlapping each pass slightly to avoid missing spots. Take breaks between sections to inspect your progress and make any necessary adjustments to the pressure settings.
Rinsing and Drying:
Once you’ve covered the entire siding with the pressure washer, it’s time to rinse off any remaining cleaning solution. Switch to a clean water nozzle and repeat the process, working from top to bottom. Allow the siding to dry completely before assessing the results.
Inspecting for Damage:
After the siding has dried, carefully inspect it for any signs of damage. Power washing, when done correctly, should not cause harm, but it’s essential to check for loose panels or chipped paint. Address any issues promptly to maintain the integrity of your home’s exterior.
In conclusion, power washing your home siding is a DIY project that can yield impressive results with the right approach and equipment. It’s a cost-effective way to enhance the appearance of your home and protect it from the elements. Remember to prioritize safety and follow the guidelines for your specific pressure washer model.
For more detailed information and tips on power washing home siding DIY, visit mimimises.org.