
Sub-Heading 1: Introduction to Power Washing Home Siding
Power washing your home’s siding is a highly effective way to revive its exterior and give it a fresh, clean look. In this guide, we’ll explore the benefits of power washing and provide step-by-step instructions for a successful DIY project that will leave your home looking as good as new.
Sub-Heading 2: The Importance of Regular Siding Maintenance
Over time, a variety of elements such as dirt, grime, mold, and mildew can accumulate on your home’s siding. Regular maintenance not only enhances the curb appeal but also prevents potential long-term damage. Power washing, when done correctly, becomes a powerful tool in your arsenal for keeping your home looking well-maintained.
Sub-Heading 3: Assessing Your Home’s Siding Material
Before embarking on a power washing project, it’s crucial to identify the type of siding material your home has. Whether it’s vinyl, wood, aluminum, or another material, each requires a specific approach to avoid damage. Check with the siding manufacturer or consult experts to determine the appropriate pressure and cleaning solutions for your specific siding.
Sub-Heading 4: Gathering the Necessary Tools and Equipment
To successfully power wash your home’s siding, you’ll need the right tools and equipment. Invest in a quality pressure washer with adjustable pressure settings, as well as appropriate nozzles for siding. Additionally, gather safety gear, such as eye protection and gloves, and select a suitable cleaning solution that won’t harm your plants or the environment.
Sub-Heading 5: Preparing the Area Surrounding Your Home
Before initiating the power washing process, take the time to prepare the area around your home. Cover any delicate plants, secure windows and doors to prevent water infiltration, and move outdoor furniture away from the walls. Proper preparation ensures a smoother and more efficient power washing experience.
Sub-Heading 6: Applying the Cleaning Solution
Begin the power washing process by applying the cleaning solution to the siding. Many commercially available siding cleaners are designed to break down dirt and mold, making them easier to remove. Alternatively, you can create a DIY solution using a mixture of water, mild detergent, and vinegar. Apply the solution from bottom to top to prevent streaking.
Sub-Heading 7: Adjusting Pressure Settings for Your Siding
Different siding materials require varying pressure settings on your pressure washer. Adjust the pressure to a level that effectively removes dirt and grime without causing damage. Start with a lower pressure setting and gradually increase if needed. Test the pressure on a small, inconspicuous area before tackling the entire siding.
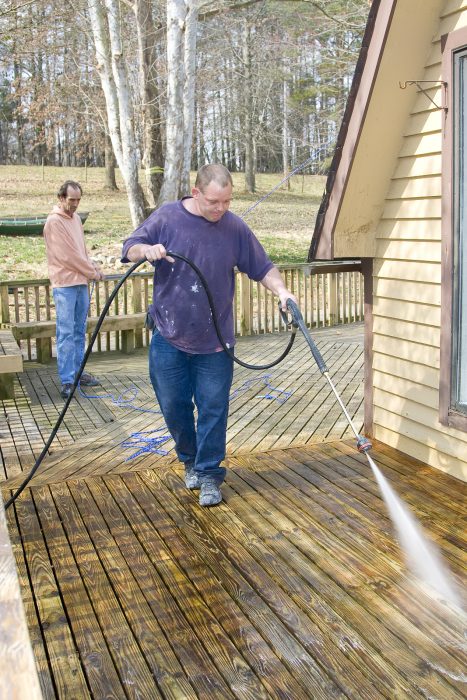
Sub-Heading 8: Proper Technique for Power Washing Siding
Maintaining a consistent and controlled technique is essential for effective power washing. Hold the pressure washer nozzle at a slight downward angle, moving it in a sweeping motion. Avoid directing water upwards, as it can lead to water getting behind the siding, potentially causing damage. Work methodically, covering small sections at a time for thorough cleaning.
Sub-Heading 9: Rinsing and Drying Your Siding
Once you’ve power washed the entire siding, it’s time to rinse away the cleaning solution and loosened grime. Switch to a plain water nozzle and repeat the process, ensuring all residues are removed. Allow the siding to air-dry completely before evaluating the results. A well-dried surface will reveal the true impact of your DIY power washing efforts.
Sub-Heading 10: Conclusion – Enjoying a Revitalized Home Exterior
By following these DIY power washing steps, you can achieve a revitalized and refreshed home exterior. Regular maintenance not only improves the appearance of your home but also contributes to its overall longevity. For more detailed guidance on power washing home siding DIY, visit mimimises.org. Transform your home with a simple, effective cleaning process.