Introduction:
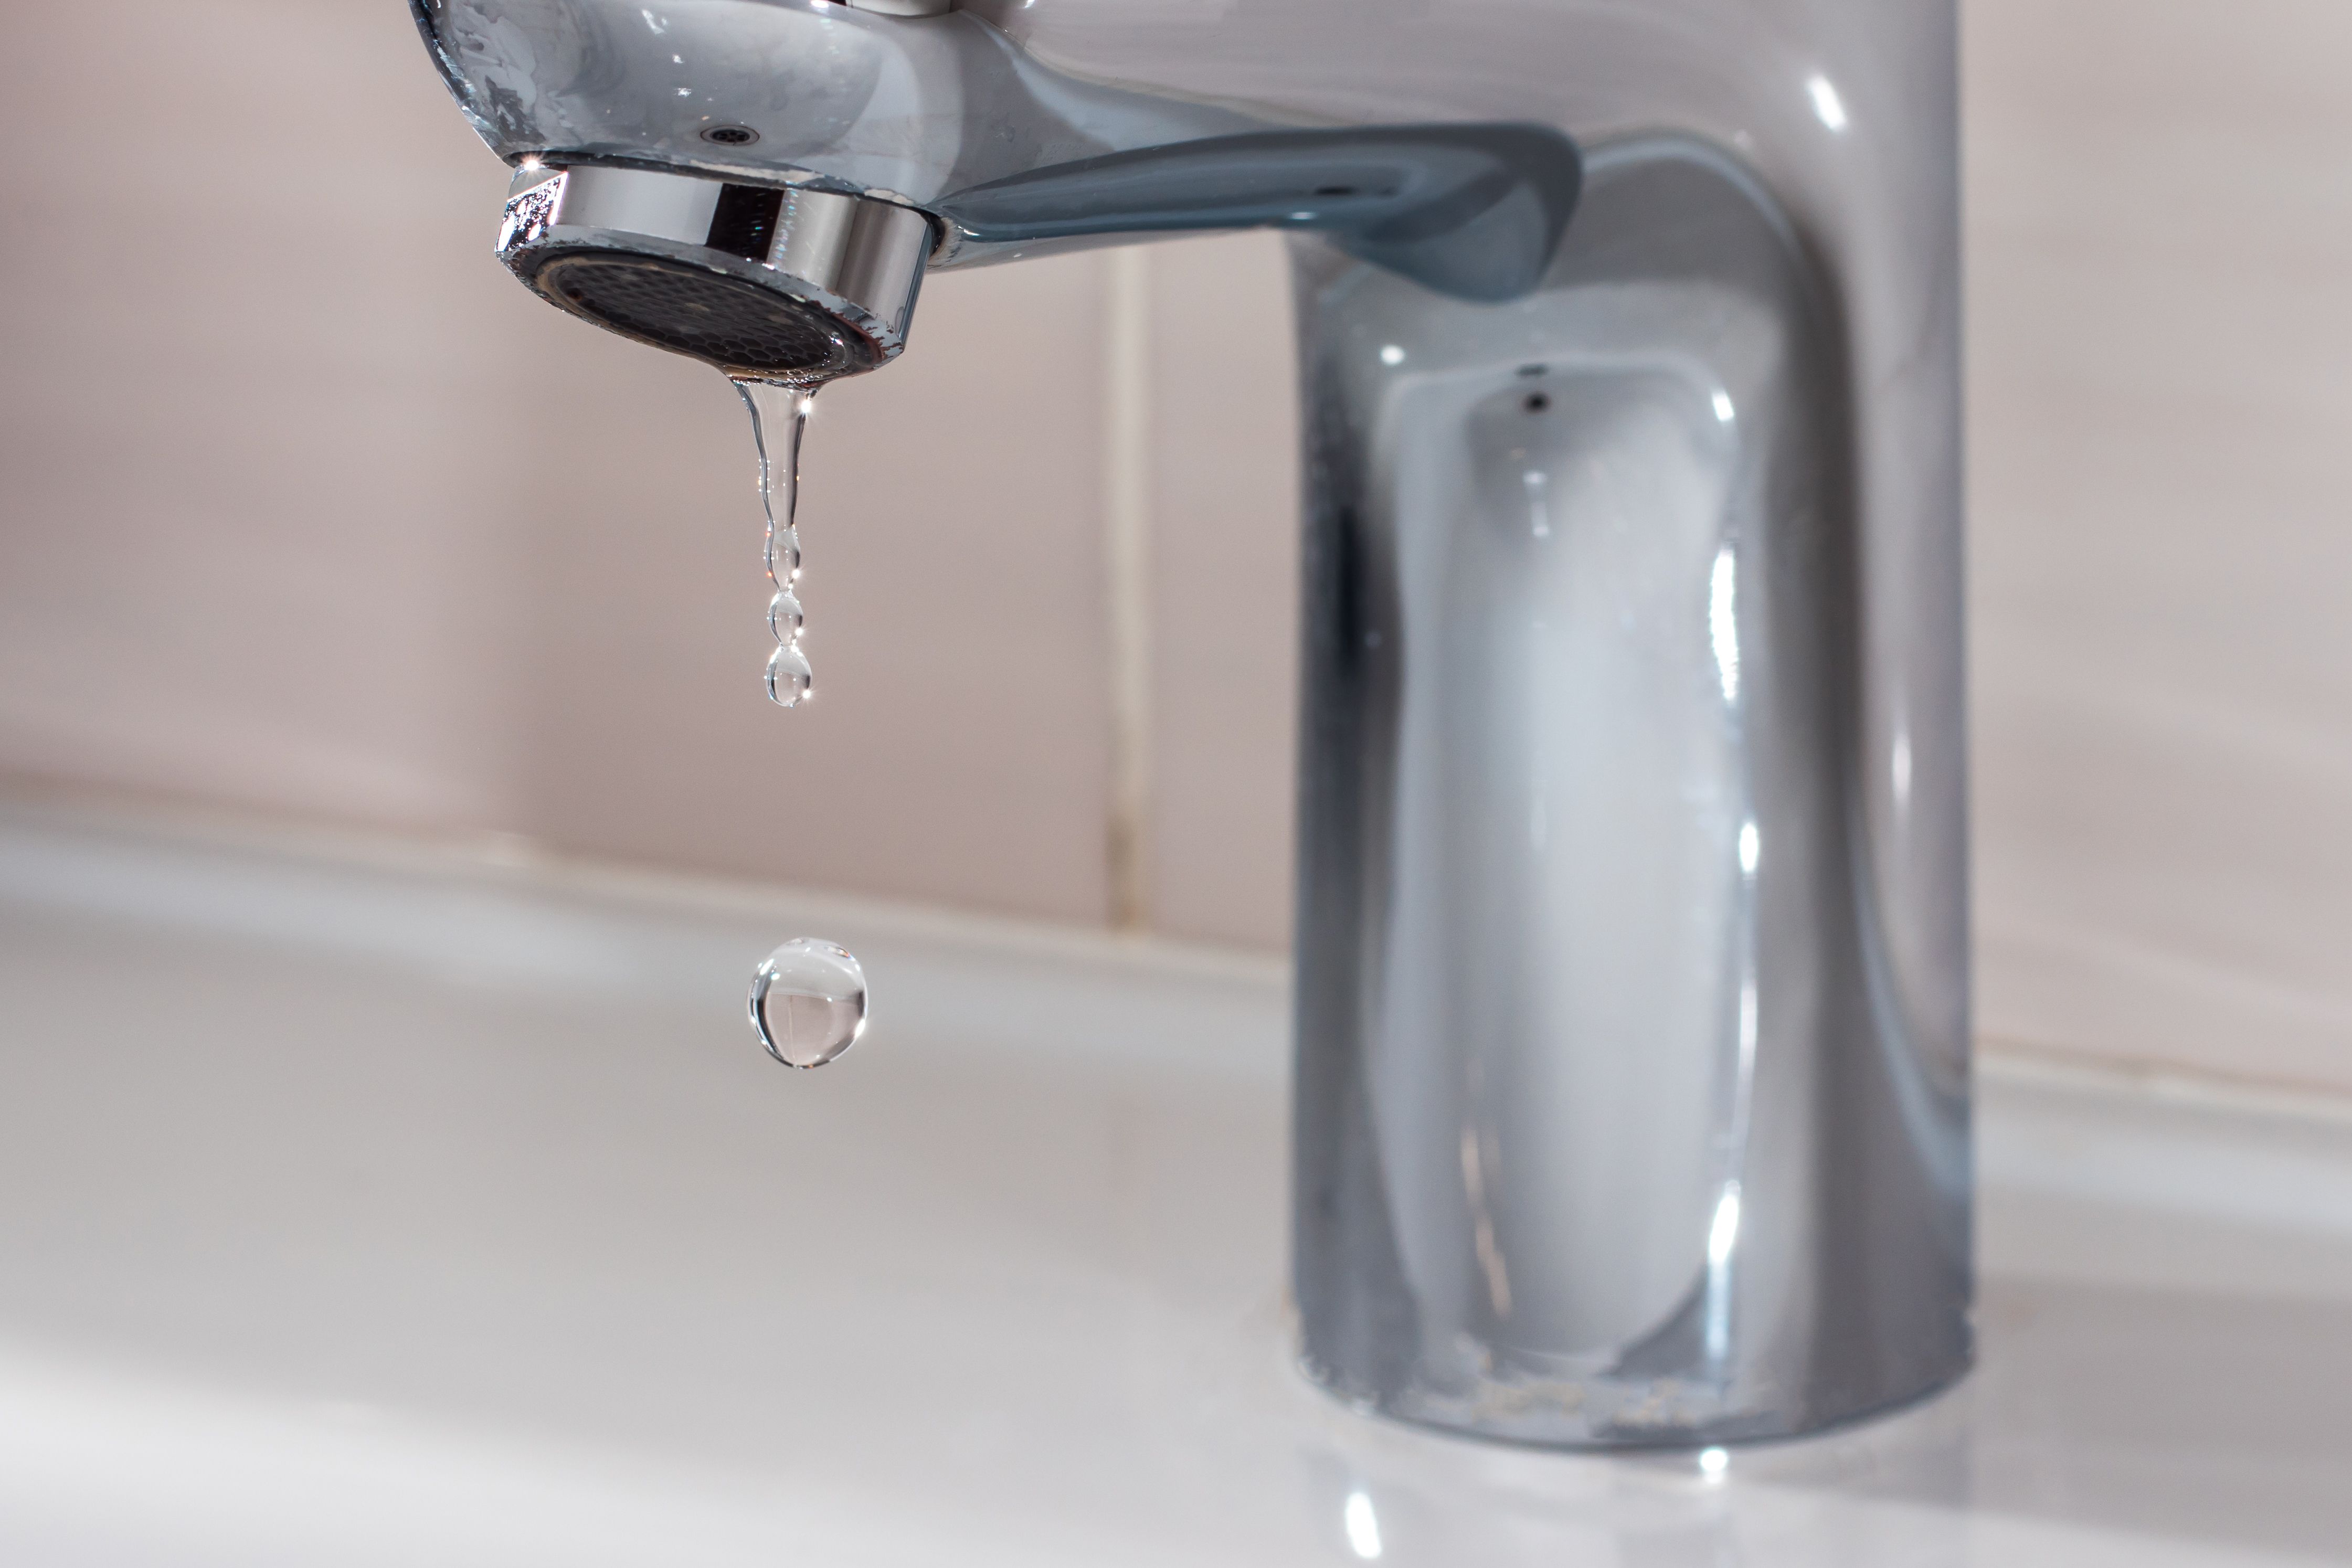
A leaky faucet is not only an annoyance but also a potential source of water wastage and increased utility bills. The good news is that you don’t need to be a plumbing expert to tackle this common household issue. In this DIY guide, we’ll walk you through the steps to fix a leaky faucet and restore peace to your kitchen or bathroom.
Understanding the Anatomy of a Faucet:
Before diving into the repair process, it’s helpful to understand the basic components of a faucet. Most leaks occur in the faucet’s spout or handles. The internal mechanisms, such as washers and O-rings, can wear out over time, leading to leaks. Identifying the source of the leak is the first step in addressing the issue.
Gathering the Necessary Tools:
For a successful DIY faucet repair, gather the necessary tools beforehand. Common tools include an adjustable wrench, screwdrivers, pliers, and a replacement kit that includes the specific parts needed for your faucet type. Turn off the water supply to the faucet before starting the repair.
Shutting Off the Water Supply:
Locate the shut-off valves under the sink and turn off the water supply to the faucet. This step is crucial to prevent water from flowing while you work on the repair. Once the water is turned off, open the faucet to release any remaining water in the lines.
Disassembling the Faucet:
Carefully disassemble the faucet by removing the handles and any decorative caps. Use a screwdriver or an Allen wrench, depending on the type of faucet. Keep track of the order in which you remove the parts to facilitate reassembly. Once disassembled, inspect the internal components for signs of wear or damage.
Replacing Washers and O-rings:
Worn-out washers and O-rings are common culprits of faucet leaks. Locate these components within the faucet assembly and replace them with new ones from your repair kit. Ensure that the replacements match the size and type of the original parts. This simple replacement can often resolve the leaking issue.
Checking for Additional Issues:
While you have the faucet disassembled, inspect other components for potential issues. Check the valve seat for corrosion and mineral deposits, as these can also contribute to leaks. Use a cloth or an abrasive pad to clean the valve seat thoroughly. If the seat is damaged, consider replacing it.
Reassembling the Faucet:
With the new washers, O-rings, and any other necessary replacements in place, carefully reassemble the faucet. Follow the reverse order of disassembly, making sure each part is securely fastened. Take your time to ensure a proper and tight fit to prevent future leaks.
Testing the Repaired Faucet:
Turn the water supply back on and test the repaired faucet. Check for any signs of leaks or drips. If the issue persists, double-check the connections and make sure all components are properly seated. Tighten any loose parts and retest until the leak is fully resolved.
Celebrating Your DIY Success:
Successfully fixing a leaky faucet is a satisfying accomplishment. Not only have you saved money on a plumber, but you’ve also contributed to water conservation. Take a moment to appreciate your DIY skills and the restored functionality of your faucet.
For more DIY tips and home improvement projects, visit DIY fix a leaky faucet. Explore additional resources to enhance your skills and tackle common household issues.
