
Introduction:
Roof leaks can be a homeowner’s nightmare, but inspecting and repairing them on your own is not only possible but also cost-effective. In this comprehensive guide, we’ll take you through the step-by-step process of identifying and fixing roof leaks, empowering you to tackle this common household issue with confidence.
Safety First: Prepare for Roof Inspection:
Before venturing onto your roof, prioritize safety. Gather the necessary safety equipment, including a sturdy ladder, non-slip shoes, and a safety harness if your roof has a steep pitch. Clear the area around your home to create a safe workspace, and ensure someone is aware that you’ll be working on the roof for added precaution.
Identifying Common Causes of Roof Leaks:
Understanding the potential sources of roof leaks is crucial for an effective inspection. Common culprits include damaged shingles, cracked flashing, deteriorated sealant around vents and chimneys, and clogged gutters. Knowing where to look will streamline your inspection process.
Inspecting Shingles and Flashing:
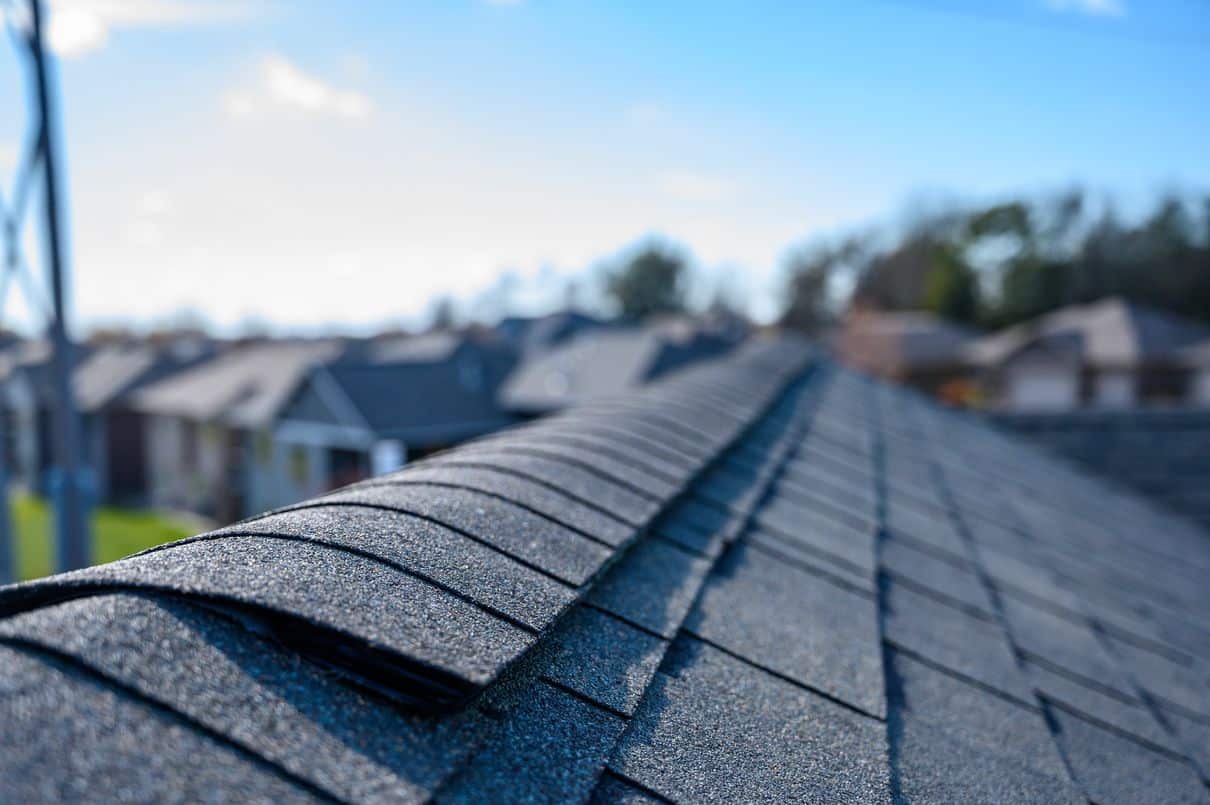
Begin your roof inspection by closely examining the shingles. Look for missing, damaged, or curled shingles, as they can allow water to penetrate the roof. Additionally, inspect the flashing around chimneys, vents, and skylights. Damaged flashing is a frequent cause of leaks, and any issues should be addressed promptly.
Checking Roof Valleys:
Roof valleys, where two roof planes meet, are vulnerable areas for leaks. Examine the condition of the shingles in these valleys and ensure they are intact. If you notice any signs of wear or damage, consider replacing the affected shingles or applying roof sealant to reinforce the area.
Examining Vents and Chimneys:
Inspect the vents and chimneys on your roof, paying attention to the flashing and seals around them. Damaged or deteriorated seals can allow water to seep in. Apply fresh sealant or replace damaged seals to create a watertight barrier around these penetrations.
Clearing and Inspecting Gutters:
Clogged gutters can lead to water backing up under the roofline, causing leaks. Clear debris from gutters and downspouts to ensure proper water flow. While cleaning, inspect the gutter system for any signs of damage and address issues promptly to prevent water-related problems.
Utilizing Roof Sealant for Small Repairs:
For minor leaks and gaps, roof sealant can be a valuable tool. Apply a generous amount of roof sealant to the affected area, ensuring complete coverage. Roof sealant is particularly useful for sealing small cracks and gaps in the roofing material.
Replacing Damaged Shingles:
If you identify damaged or missing shingles during your inspection, replacing them is a straightforward DIY task. Carefully remove the damaged shingles, and install new ones in their place. Ensure a proper fit and secure them according to the manufacturer’s guidelines.
Addressing Interior Water Stains:
Interior water stains on ceilings are often indicative of roof leaks. If you notice such stains, investigate the corresponding area on the roof. Once you’ve addressed the external issue, repair any water-damaged drywall or insulation inside your home.
Conducting a Final Water Test:
After completing the necessary repairs, perform a final water test. Enlist the help of a friend to use a hose to simulate rainfall while you inspect the repaired areas from inside your home. This test helps ensure that your DIY repairs have successfully resolved the roof leaks.
Preventing Future Leaks with Regular Maintenance:
To minimize the risk of future roof leaks, implement a regular maintenance routine. Inspect your roof at least once a year, especially after severe weather events. Promptly address any issues you discover to prevent them from escalating into more significant problems.
In conclusion, inspecting and repairing roof leaks on your own is a feasible and rewarding undertaking. By following these step-by-step guidelines, you can identify, address, and prevent roof leaks, protecting your home from potential water damage. For more detailed information and additional DIY tips, visit mimimises.org.