Introduction: The Importance of Effective Caulking and Sealing
Caulking and sealing gaps in your home are vital tasks that go beyond aesthetic considerations. Properly executed, these techniques contribute to energy efficiency, prevent moisture intrusion, and enhance the overall structural integrity of your living spaces. Let’s explore effective methods for caulk application and gap sealing.
Understanding the Purpose of Caulk
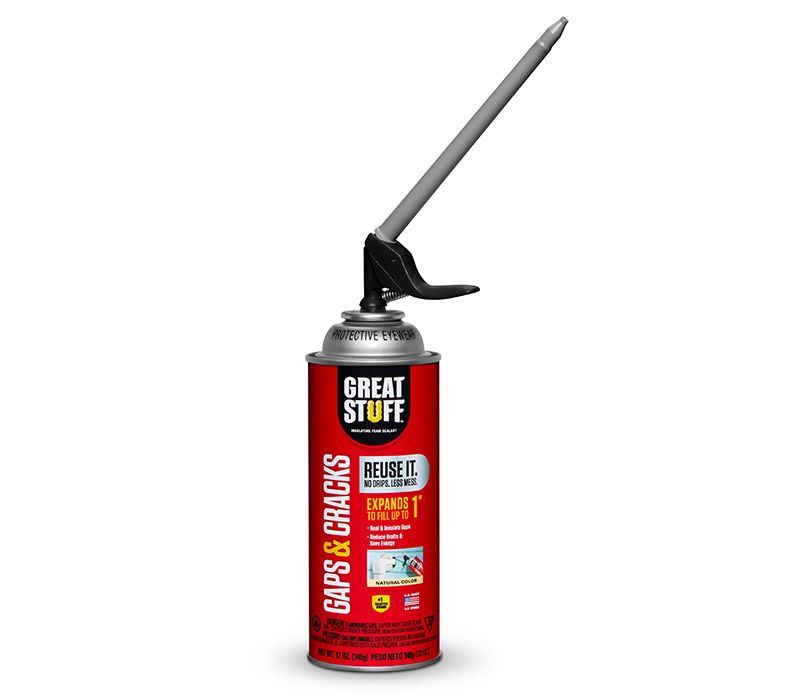
Caulk is a flexible material used to seal gaps and cracks, preventing air and moisture from entering or escaping a structure. Understanding the purpose of caulk is essential for identifying areas in your home that may benefit from this simple yet impactful solution.
Identifying Common Areas for Caulking
Before you begin your caulk application, identify common areas prone to gaps. Windows, doors, baseboards, and gaps around pipes or vents are frequent culprits. Inspecting your home thoroughly allows you to pinpoint areas where caulk can play a crucial role in enhancing energy efficiency and weather resistance.
Choosing the Right Type of Caulk
Selecting the right type of caulk is crucial for effective sealing. Different types of caulk are suitable for various surfaces and purposes. For example, silicone caulk is excellent for areas prone to water exposure, while acrylic caulk is versatile for general-purpose sealing. Consider the specific needs of each area before choosing the appropriate caulk.
Preparing Surfaces for Caulking
Effective caulk application requires proper surface preparation. Clean the surfaces thoroughly to remove dirt, dust, and old caulk. Use a scraper or putty knife to ensure a smooth, clean surface for the new caulk to adhere properly. Adequate preparation is the foundation for a durable and long-lasting seal.
Applying Caulk with Precision
When applying caulk, precision is key. Use a caulking gun for controlled and even dispensing. Apply steady pressure on the gun, and use a smooth, consistent motion to achieve a uniform bead. Pay attention to corners and joints, ensuring complete coverage without gaps or breaks in the seal.
Smoothing and Shaping Caulk
After applying the caulk, use a caulk smoothing tool or a wet finger to shape and smooth the bead. This step not only improves the aesthetic appeal but also ensures a tight seal. Pay attention to details, and take the time to perfect the finish for a professional look.
Drying and Curing Time
Allow sufficient drying and curing time for the caulk. Read the product label for recommended times, as these can vary depending on the type of caulk used. Rushing this step may compromise the effectiveness of the seal, so exercise patience to achieve optimal results.
Checking for Effectiveness
Once the caulk has fully cured, perform a thorough check for effectiveness. Look for any signs of gaps, cracks, or areas where the caulk may not have adhered properly. This final inspection ensures that your efforts have successfully sealed potential entry points for air and moisture.
Maintaining and Monitoring Caulked Areas
Regular maintenance is essential for ensuring the ongoing effectiveness of caulked areas. Periodically inspect the seals for any signs of wear, damage, or deterioration. Promptly address any issues to prevent further damage and maintain the integrity of the caulked surfaces.
Conclusion: Enhancing Home Efficiency with Effective Caulking
In conclusion, caulk and sealing gaps effectively are fundamental tasks for homeowners seeking to improve energy efficiency and protect their homes from the elements. Click here for additional resources on caulk application and gap sealing. Embrace these techniques, and you’ll not only enhance the longevity of your home but also contribute to a more energy-efficient and comfortable living environment.


