Introduction:
Indoor air quality is paramount for a healthy living environment, and one effective way to maintain it is by regularly replacing the air filters in your home. This simple do-it-yourself (DIY) task not only ensures cleaner air but also enhances the efficiency of your HVAC system. In this article, we will guide you through the process of replacing air filters in your home.
Understanding the Importance of Air Filters:
Air filters play a crucial role in trapping dust, allergens, and other particles, preventing them from circulating through your home. Over time, these filters can become clogged and less effective, affecting both air quality and the performance of your heating and cooling system.
Determining the Right Replacement Filters:
Before you begin the replacement process, it’s essential to know the correct size and type of air filters your HVAC system requires. Refer to your system’s manual or check the existing filter for specifications. Using the wrong size or type of filter can compromise the effectiveness of the system.
Gathering Necessary Tools:
Replacing air filters is a straightforward task that requires minimal tools. Typically, all you need is a new filter and perhaps a screwdriver to access the filter compartment. Ensure you have the right-sized replacement filter on hand before starting the process.
Locating the Air Filter Compartment:
The air filter compartment is usually located near the intake or blower unit of your HVAC system. Refer to your system’s manual to find the exact location. Once located, turn off your HVAC system to ensure safety during the replacement process.
Removing the Old Air Filter:
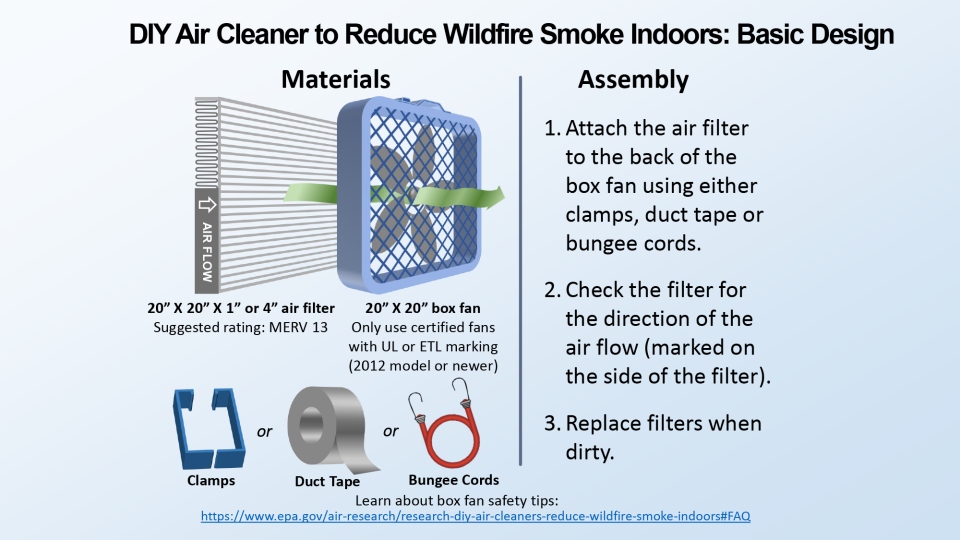
Carefully open the filter compartment and remove the old filter. Pay attention to the direction of airflow indicated on the filter; this information ensures you insert the new filter correctly. Dispose of the old filter according to local regulations.
Installing the New Air Filter:
Take the new filter and slide it into the filter compartment, following the directional arrows. Ensure a snug fit but be cautious not to damage the filter or the surrounding components. Closing the filter compartment securely is also crucial.
Checking for Air Leaks:
After replacing the filter, inspect the area around the filter compartment for any gaps or air leaks. A proper seal ensures that all air passing through the filter, effectively filtering out contaminants.
Turning On the HVAC System:
With the new filter securely in place, it’s time to turn your HVAC system back on. Monitor the system for any unusual noises or issues that may indicate a problem with the filter installation.
Establishing a Replacement Schedule:
To maintain optimal air quality and system efficiency, it’s recommended to replace air filters regularly. The frequency depends on factors such as the type of filter, the number of occupants in your home, and the presence of pets. Establish a schedule to remind yourself of this crucial maintenance task.
Conclusion:
Replacing air filters in your home is a simple yet impactful DIY task that contributes to a healthier living environment. By understanding the importance of air filters, choosing the right replacements, and following a straightforward replacement process, you can ensure cleaner air and efficient HVAC system performance. For more detailed guidance on DIY home maintenance, including air filter replacement, you can visit replace air filters in your home DIY. This resource provides additional insights and step-by-step instructions to help you keep your home environment at its best.


