Mastering DIY Plunger Techniques for Effective Use
Plungers are simple yet powerful tools that can save the day when dealing with clogged drains. Whether it’s a stubborn toilet or a backed-up sink, learning how to use a plunger effectively can spare you the hassle of calling a plumber. Follow our guide to become a plunger pro.
Choosing the Right Plunger
Not all plungers are created equal. To use a plunger effectively, start by selecting the right type. A cup plunger is suitable for sinks and flat surfaces, while a flange plunger with an extended rubber flap is designed for toilets. Having the appropriate plunger for the job is the first step towards success.
Creating a Proper Seal
For a plunger to work its magic, it needs to create a tight seal. Position the plunger over the drain or toilet opening, ensuring that the rubber cup or flange covers the entire area. A proper seal is crucial to generate the suction needed to dislodge the clog effectively.
Applying the Right Technique
Once you’ve established a seal, it’s time to apply the right plunging technique. For sinks, push and pull the plunger in quick, forceful motions, maintaining the seal to create suction. When dealing with a toilet, use a more controlled approach, pushing down gently and pulling up with precision. Repeat the process several times.
Being Patient and Persistent
Effective plunging requires patience and persistence. If the clog doesn’t clear immediately, don’t give up. Continue plunging, alternating between quick bursts of force and steady, controlled movements. It may take several attempts to break down and dislodge the obstruction causing the blockage.
Using Hot Water and Soap
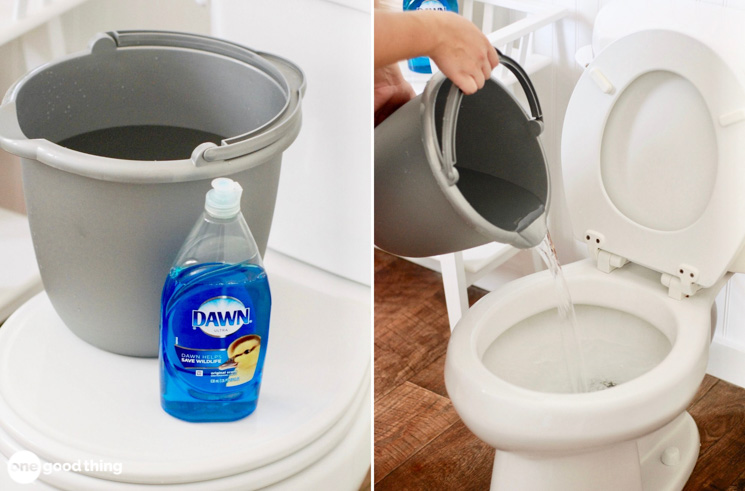
Before resorting to chemical drain cleaners, try using hot water and soap in conjunction with your plunger. Pouring hot water down the drain can help loosen grease and debris, making it easier for the plunger to do its job. Adding a small amount of dish soap can further enhance the process.
Knowing When to Seek Professional Help
While a plunger is a handy tool for minor clogs, it’s essential to recognize when the issue goes beyond DIY solutions. If repeated plunging doesn’t resolve the problem or if you experience recurring clogs, it may be a sign of a more significant plumbing issue. In such cases, seeking professional help is advisable.
Preventing Future Clogs
Once you’ve successfully cleared the clog, take preventive measures to avoid future plumbing issues. Dispose of grease and food scraps properly, use hair catchers in the shower, and educate household members about what should and shouldn’t go down the drain. These simple steps can save you from frequent plunging sessions.
Maintaining and Cleaning Your Plunger
To ensure your plunger remains effective, clean and maintain it regularly. Rinse it thoroughly after each use, and store it in a dry place. Periodically disinfecting the plunger can also help prevent the spread of germs and bacteria.
Teaching Others the Art of Plunging
Sharing your newfound plunger expertise with others in your household is a smart move. Teach family members or roommates the proper techniques for effective plunging. This not only helps distribute the responsibility but also ensures everyone can handle minor plumbing issues independently.
Conclusion: DIY Plumbing Triumph
Mastering the art of using a plunger effectively is a valuable DIY skill that can save you time, money, and the inconvenience of a clogged drain. Armed with the right plunger, technique, and preventive measures, you can confidently tackle minor plumbing issues in your home.
For more comprehensive plumbing tips and tricks, visit mimimises.org for expert guidance on maintaining a healthy plumbing system.
