Introduction: DIY Winterization for Exterior Faucets
As winter approaches, safeguarding your home against freezing temperatures becomes paramount. One crucial aspect of winter preparation is ensuring that exterior faucets are properly winterized. In this guide, we’ll take you through the steps of DIY winterization, offering a cost-effective and straightforward approach to protect your exterior faucets during the colder months.
1. Understanding the Importance of Winterization
Before delving into the process, it’s essential to grasp why winterizing exterior faucets is crucial. When water freezes inside the pipes, it expands, leading to potential pipe bursts and costly water damage. By taking the time to winterize, you prevent this scenario, ensuring your faucets remain in optimal condition.
2. Gathering the Necessary Tools and Supplies
To embark on your DIY winterization journey, gather the tools and supplies you’ll need. This typically includes an insulation kit, pipe sleeves, a faucet cover, and plumber’s tape. These materials are readily available at hardware stores and are designed to provide effective insulation for your exterior faucets.
3. Locating and Shutting Off the Water Supply
Before you start winterizing, locate the shut-off valve for the exterior faucets. This valve is often found inside the house, and turning it off will prevent water from flowing to the outdoor faucets. Once the water supply is turned off, open the exterior faucets to drain any remaining water from the pipes.
4. Applying Pipe Sleeves and Insulation
Pipe sleeves and insulation are key components in protecting exterior faucets from freezing temperatures. Slide the pipe sleeves over the exposed pipes, ensuring they cover the entire length. Follow this by wrapping the pipes and sleeves with insulation material, securing them in place with plumber’s tape. This insulation provides a barrier against the cold, helping to maintain a higher temperature around the pipes.
5. Installing Faucet Covers for Extra Protection
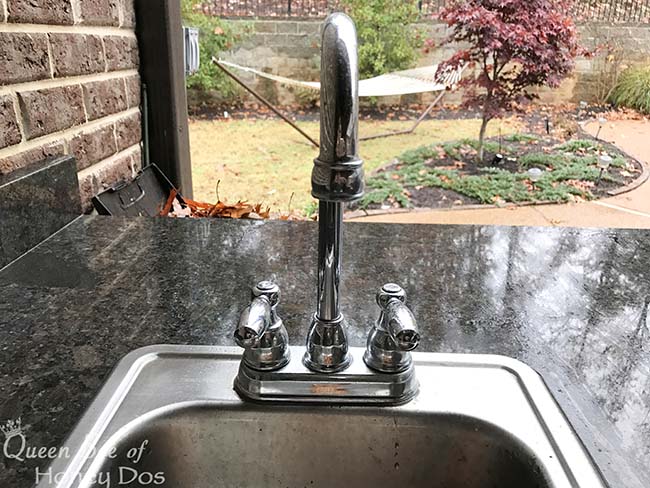
Faucet covers are a simple yet effective addition to your winterization efforts. These covers, typically made of durable materials like foam or hard plastic, fit securely over the exterior faucets. They act as an additional layer of insulation, shielding the faucets from direct exposure to cold air and harsh weather conditions.
6. Sealing Gaps and Cracks
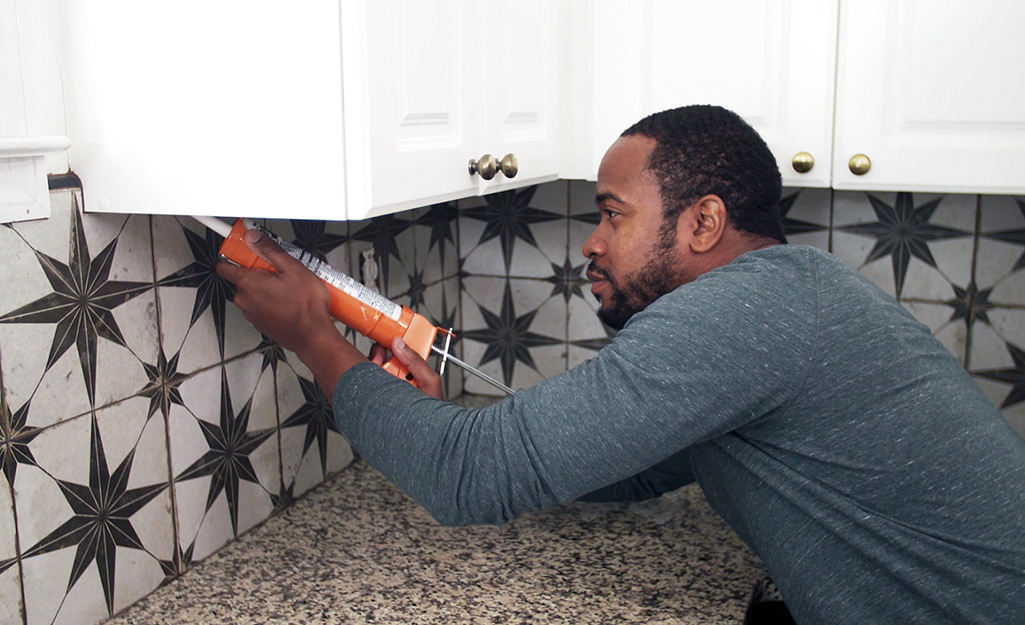
Inspect the area around your exterior faucets for any gaps or cracks that may allow cold air to penetrate. Seal these gaps using caulk or expanding foam, creating a tight seal. This step further enhances the insulation and ensures that your winterization efforts are comprehensive.
7. Draining and Storing Hoses
Don’t forget to address hoses connected to the exterior faucets. Disconnect each hose, drain any residual water, and store them in a sheltered location. Storing hoses indoors prevents them from freezing and becoming brittle, prolonging their lifespan for future use.
8. Periodic Checks During Winter
Winter conditions can be unpredictable, so it’s wise to perform periodic checks on your exterior faucets throughout the winter months. Inspect the insulation, covers, and seals to ensure they remain intact and effective. If you encounter any issues, address them promptly to maintain the protection against freezing temperatures.
9. Reversing the Process in Spring
When spring arrives and the risk of freezing diminishes, it’s time to reverse the winterization process. Turn on the water supply to the exterior faucets, allow them to run for a few minutes, and inspect for any leaks or issues. Remove insulation, pipe sleeves, and faucet covers, storing them for the next winter season.
10. Embracing DIY Winterization as Routine
Making DIY winterization of exterior faucets a routine part of your seasonal home maintenance contributes to the longevity of your plumbing system. By taking proactive measures to protect against freezing temperatures, you safeguard your home and save on potential repair costs. For more home maintenance tips, visit mimimises.org.
Conclusion: A DIY Approach to Winter-Ready Faucets
DIY winterization for exterior faucets is a simple yet effective way to prepare your home for the challenges of winter. By understanding the importance of this process and following the step-by-step guide, you empower yourself to protect your plumbing system and enjoy a worry-free winter. Take charge of your home’s winter readiness with these practical and cost-efficient measures.


