Introduction:
Repainting the exterior of your home is a rewarding DIY project that can enhance curb appeal and protect your property. In this guide, we’ll take you through the steps of repainting your home’s exterior yourself, allowing you to personalize and rejuvenate your living space.
Choosing the Right Paint and Color:
The first step in repainting your home’s exterior is selecting the right paint and color. Choose a high-quality exterior paint suitable for your climate. Consider factors such as the architectural style of your home, the surrounding landscape, and any homeowners association guidelines. Testing paint samples on a small section can help you visualize the final result.
Preparing the Exterior Surface:
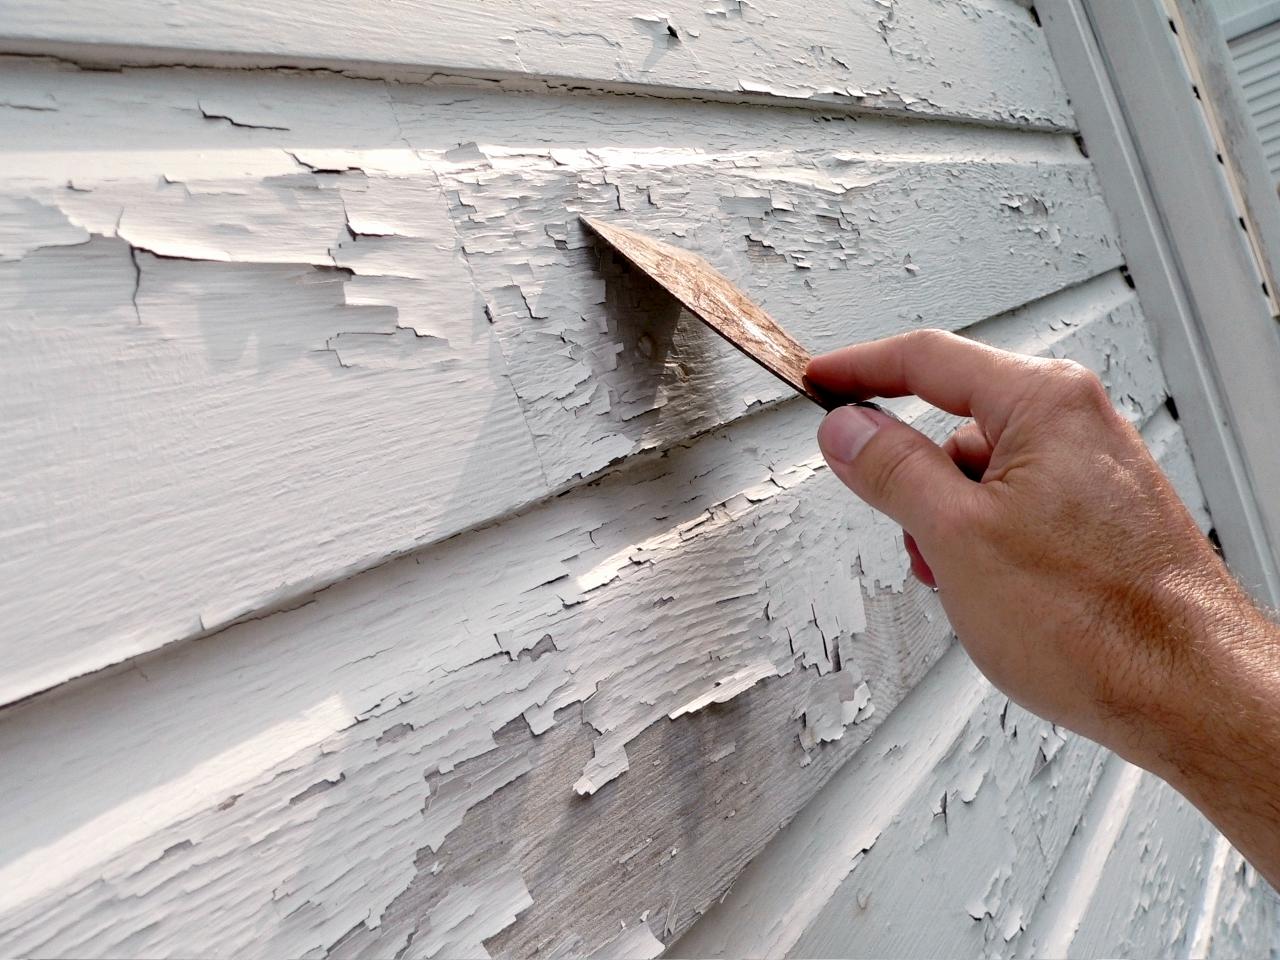
Proper preparation is essential for a successful exterior painting project. Begin by thoroughly cleaning the surfaces to remove dirt, mildew, and old paint. Repair any damaged areas, such as cracks or peeling paint, using a scraper and putty knife. Sanding the surfaces creates a smooth canvas for the new paint to adhere to, ensuring a longer-lasting finish.
Protecting Windows, Doors, and Landscaping:
Before applying paint, protect windows, doors, and any surrounding landscaping. Use painter’s tape to cover window frames and edges. Plastic sheeting can shield doors and landscaping from accidental paint splatters. Taking the time to protect these areas ensures a clean and professional-looking result.
Applying Primer for Adhesion:
Priming is a crucial step in the repainting process, especially for surfaces with bare wood or when transitioning between dark and light colors. Apply a high-quality primer to promote paint adhesion and improve the durability of the final finish. Allow the primer to dry thoroughly before moving on to the next steps.
Choosing the Right Painting Tools:
Selecting the right painting tools is essential for achieving a smooth and even finish. Invest in quality brushes and rollers suitable for your chosen paint type. Brushes are ideal for detailed work and edges, while rollers cover larger surfaces efficiently. Extension poles can make reaching high areas more manageable.
Applying Paint with Precision:
With the preparation complete, it’s time to apply the paint. Start with a quality exterior paint and use a brush or roller, depending on the surface. Begin at the top and work your way down, maintaining a wet edge to avoid visible seams. Be patient and apply multiple thin coats for a professional-looking finish.
Paying Attention to Detail:
Detail work sets apart a DIY paint job. Take extra care when painting trim, edges, and architectural details. Use painter’s tape for clean lines, and a smaller brush for intricate areas. Attention to detail ensures a polished appearance and a result that enhances the overall aesthetic of your home.
Allowing Sufficient Drying Time:
Proper drying time is crucial between coats. Follow the manufacturer’s recommendations for drying times, considering factors like temperature and humidity. Rushing the process can lead to uneven drying and affect the final result. Be patient, and allow each coat to dry thoroughly before applying the next.
Inspecting and Touching Up:
Once the final coat is applied and dried, inspect the entire exterior for any missed spots or imperfections. Touch up these areas with the appropriate paint and tools. A thorough inspection ensures a flawless finish and lasting results.
Cleaning and Storing Equipment:
After completing the painting project, clean your brushes, rollers, and other tools promptly. Proper cleaning prolongs the life of your equipment and ensures they are ready for future use. Store paint and tools in a cool, dry place for future touch-ups or projects.
Conclusion:
Repainting the exterior of your home yourself is a satisfying and transformative DIY endeavor. By following these steps, you can achieve professional-looking results that enhance your home’s curb appeal and protect it from the elements. For more detailed guidance and additional DIY tips, visit mimimises.org.


:strip_icc()/BHG-gardening-yard-compost-diy-compost-bin-step-Hero-A-e6c108bdf3ea457aaf16435a04c0dcd2.jpg)


