Introduction:
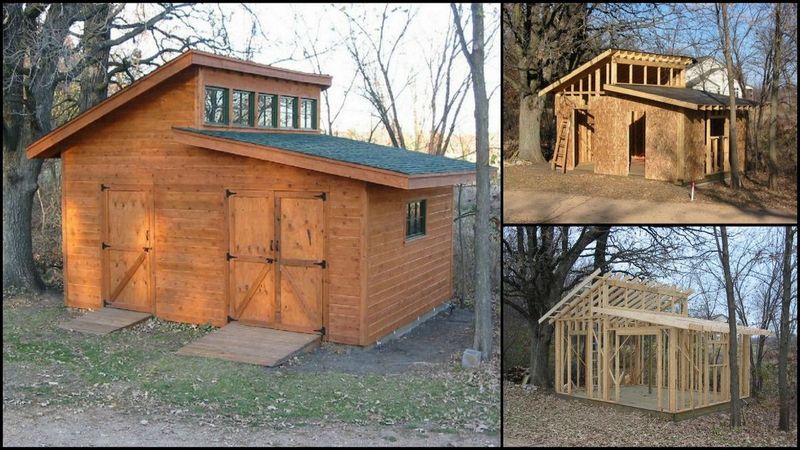
Adding a backyard shed not only provides valuable storage space but also enhances the overall functionality of your outdoor area. With a do-it-yourself (DIY) approach, building a backyard shed becomes an achievable and rewarding project. In this guide, we’ll take you through the steps to create your own storage haven.
Planning Your Backyard Shed Project:
Before picking up any tools, careful planning is essential. Determine the purpose of your shed – whether it’s for storing tools, gardening equipment, or serving as a small workshop. Consider the shed’s size, location, and design to ensure it complements your backyard space.
Checking Local Regulations and Permits:
Be aware of local regulations and obtain any necessary permits before starting your DIY project. Building codes and zoning regulations can vary, and obtaining the proper permits ensures that your backyard shed complies with local laws.
Selecting Materials for Your DIY Shed:
Choose materials that suit your budget and climate. Common choices for shed construction include wood, metal, and vinyl. Each material has its advantages, such as wood’s aesthetic appeal, metal’s durability, and vinyl’s low maintenance. Consider the climate in your area when making your selection.
Gathering the Necessary Tools and Equipment:
To tackle a DIY backyard shed project, you’ll need the right tools. Basic tools include a saw, drill, level, tape measure, and safety gear. Rent or borrow larger tools like a circular saw or post-hole digger if necessary. Having the right tools ensures a smoother construction process.
Creating a Solid Foundation:
A sturdy foundation is crucial for the longevity of your shed. Options include a concrete slab, deck blocks, or skids. Choose a foundation that suits your shed’s size and weight. Properly level and secure the foundation to ensure the shed remains stable over time.
Constructing the Frame:
Building the frame is a significant step in your DIY shed project. Follow your chosen shed plans carefully, ensuring accurate measurements and proper alignment. Consider pre-building some sections before assembling them on-site to streamline the process.
Installing Exterior Walls and Roof:
Attach the exterior walls to the frame, making sure they are securely anchored. Once the walls are in place, install the roof structure. Choose roofing materials suitable for your climate, such as shingles or metal roofing. Properly waterproof the roof to prevent leaks.
Adding Windows and Doors:
Windows provide natural light, and doors offer access to your shed. Install windows strategically for optimal lighting and ventilation. Choose durable, weather-resistant doors that enhance the functionality and security of your backyard shed.
Finishing Touches and Interior Design:
Complete your DIY shed project by adding finishing touches. Consider painting or staining the exterior to protect it from the elements. Customize the interior to suit your storage needs, adding shelves, racks, and hooks. Make the space organized and functional.
Maintaining Your Backyard Shed:
Regular maintenance ensures the longevity of your DIY shed. Inspect for any signs of wear, address potential issues promptly, and perform seasonal checks. This proactive approach will help you catch and fix problems before they become major concerns.
Conclusion:
Building a backyard shed is a fulfilling DIY project that adds practicality and charm to your outdoor space. With careful planning, the right materials, and attention to detail, you can create a functional and aesthetically pleasing shed that meets your storage needs. For more inspiration and guidance, visit DIY build a backyard shed and embark on your shed-building adventure.


