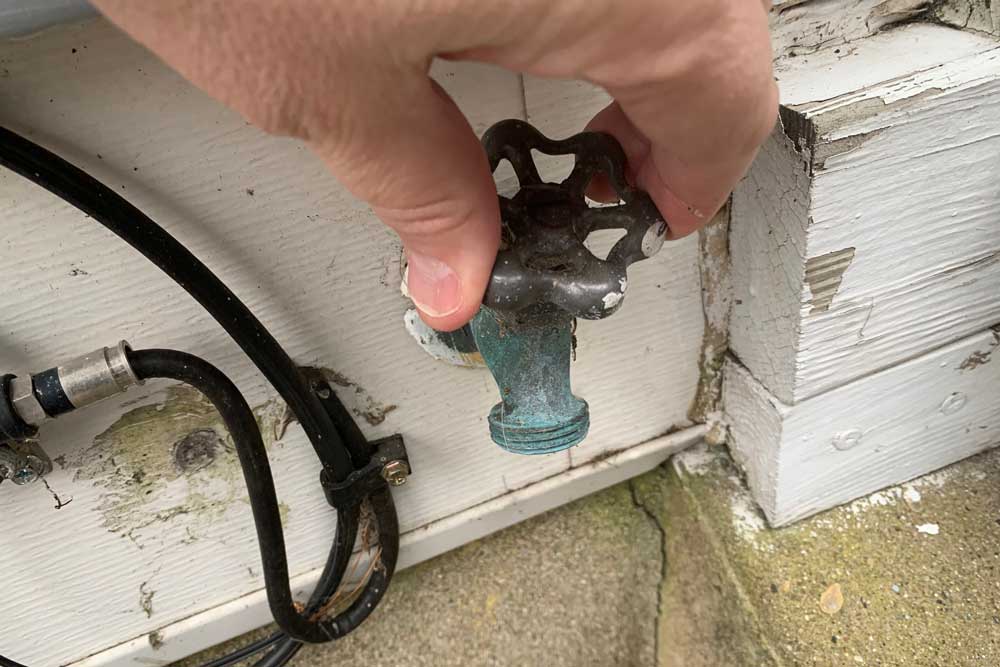
Winterizing Exterior Faucets: DIY Guide for Cold Weather
As the winter chill approaches, it’s crucial to prepare your home for the freezing temperatures, and one often overlooked aspect is winterizing exterior faucets. Follow this comprehensive DIY guide to protect your faucets from potential damage during the cold season.
Understanding the Importance of Winterizing
Winterizing your exterior faucets is essential to prevent freezing, which can lead to burst pipes and costly repairs. By taking the time to winterize, you safeguard your plumbing system and ensure that your faucets remain in good working condition when warmer weather returns.
Gathering the Necessary Tools and Materials
Before you start the winterization process, gather the tools and materials you’ll need. This typically includes an insulated faucet cover, outdoor faucet insulation kit, pipe insulation, and plumbing tape. Having these items on hand will make the process smoother and more efficient.
Turning Off the Water Supply
The first step in winterizing exterior faucets is turning off the water supply to the outdoor spigots. Locate the shut-off valve inside your home and turn it off to stop the flow of water to the exterior faucets. This simple step prevents water from freezing in the pipes and causing damage.
Draining the Remaining Water
After turning off the water supply, it’s essential to drain any remaining water from the outdoor faucets and pipes. Open the exterior faucets to allow the water to flow out completely. Additionally, you can open the bleeder cap on the shut-off valve to ensure that all water is drained from the system.
Installing Insulated Faucet Covers
Once the water is drained, install insulated faucet covers on each outdoor spigot. These covers provide an additional layer of protection against the cold and help prevent freezing. Choose covers that are appropriate for the size and style of your faucets.
Applying Outdoor Faucet Insulation Kits
For added insulation, consider using outdoor faucet insulation kits. These kits typically include a cover for the faucet and insulation for the connecting pipe. Install these kits according to the manufacturer’s instructions to ensure maximum protection against freezing temperatures.
Wrapping Pipes with Insulation
In regions with extremely cold temperatures, it’s advisable to wrap exposed pipes with pipe insulation. This extra layer of insulation helps maintain a consistent temperature and further minimizes the risk of freezing. Use plumbing tape to secure the insulation in place.
Sealing Gaps and Leaks
Inspect the area around your outdoor faucets for any gaps or leaks. Seal these gaps with caulk or weatherstripping to prevent cold air from reaching the pipes. Proper sealing is crucial in maintaining a warm environment around the faucets.
Protecting Backflow Preventers
If your plumbing system includes backflow preventers, it’s important to protect them from freezing. Use insulated covers designed for backflow preventers to shield them from the cold. This step is often overlooked but is essential for the overall health of your plumbing system.
Regular Maintenance Checks
Winterizing exterior faucets is not a one-time task; it requires regular checks throughout the winter season. Periodically inspect the insulated covers, pipe insulation, and overall condition of the faucets. Make any necessary adjustments or replacements to ensure continued protection.
Conclusion: A DIY Investment in Plumbing Health
Winterizing exterior faucets is a small investment of time and resources that pays off in preventing costly plumbing repairs. By following this DIY guide, you protect your home from potential winter damage and ensure that your plumbing system remains in top condition.
For more detailed information on winterizing exterior faucets DIY, visit mimimises.org for expert guidance and additional tips.
