Upgrade Your Space: DIY Cabinet Knob Replacement Tutorial
Enhancing the aesthetic appeal of your furniture doesn’t always require a major overhaul. Sometimes, a simple change, like replacing a cabinet knob, can make a significant difference. In this guide, we’ll walk you through the steps of this easy and budget-friendly DIY project.
Choosing the Right Cabinet Knob
The first step in the process is selecting a new cabinet knob that complements your furniture and overall decor. Consider the style, color, and material to ensure a cohesive look. Whether you prefer classic, modern, or eclectic designs, there’s a vast array of knobs available to suit your taste.
Gathering the Necessary Tools and Supplies
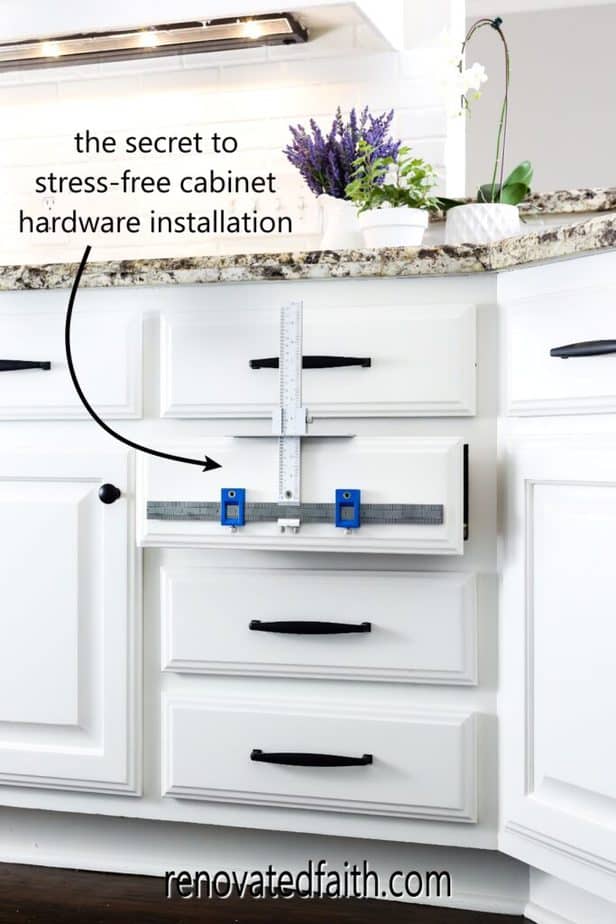
Before diving into the replacement process, make sure you have the right tools and supplies. Typically, you’ll need a screwdriver, pliers, and possibly a template for accurate placement. Ensure that the new knob comes with screws or bolts that fit your cabinet’s thickness.
Removing the Old Cabinet Knob
Begin by opening the cabinet door and locating the screws on the interior side of the door. Use a screwdriver to loosen and remove the screws, allowing you to detach the old knob. If the knob has a bolt on the exterior, use pliers to loosen and remove it.
Filling Holes if Needed
In some cases, the new knob may have a different placement or size than the old one, resulting in existing holes being visible. If this is the case, consider using wood filler to patch the old holes. Once filled, sand the area smooth for a flawless finish.
Positioning the New Cabinet Knob
If your new knob aligns with the existing holes, simply position it over them and secure it in place using the provided screws or bolts. Ensure that the knob is snug and doesn’t wobble. If the new knob requires new holes, use a template for accurate placement before securing it.
Adding a Personal Touch
This is the perfect opportunity to infuse a personal touch into your furniture. Get creative by choosing knobs with unique designs, colors, or materials. You can mix and match knobs within the same space for a playful and eclectic vibe.
Checking for Tightness
After attaching the new knob, check for tightness and make any necessary adjustments. Ensure that the knob is securely fastened without being too tight, allowing for smooth and easy usage. Take a moment to test the functionality and overall feel of the new knob.
Caring for Your Upgraded Cabinet
Now that your cabinet boasts a stylish new knob, it’s essential to maintain its appearance. Regular cleaning and gentle care will ensure the longevity of both the knob and the cabinet. Use mild cleaners and avoid abrasive materials that could scratch or damage the surface.
Showcasing Your DIY Success
Don’t hesitate to showcase your DIY prowess! Share your cabinet knob replacement success on social media or with friends and family. Encourage others to take on similar projects, demonstrating that small changes can have a big impact on the overall look and feel of a space.
Conclusion: Easy and Effective Cabinet Upgrade
In conclusion, replacing a cabinet knob is a straightforward DIY project that can elevate the look of your furniture and space. With the right tools, a well-chosen knob, and a bit of creativity, you can achieve a stylish and personalized upgrade. For more inspiration and ideas, check out DIY replace a cabinet knob on our website.


