
Sub-Heading 1: Introduction to DIY Roof Leak Inspection and Repair
Roof leaks can be a homeowner’s nightmare, but tackling them yourself can save both time and money. In this comprehensive guide, we’ll walk you through the steps of inspecting and repairing roof leaks on your own, empowering you to maintain a watertight home.
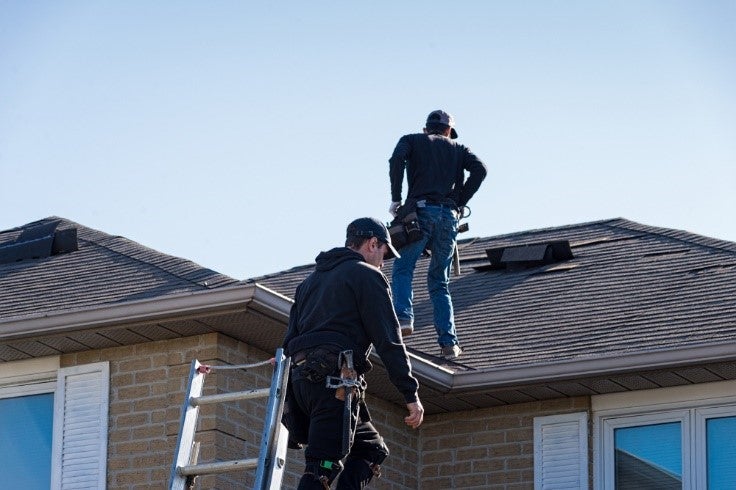
Sub-Heading 2: Safety First – Assessing the Risk
Before climbing onto your roof, prioritize safety. Assess the risk factors, including the roof’s pitch, condition, and weather conditions. If you feel uncomfortable or unsafe, it’s advisable to seek professional help. Safety should always be the top priority when inspecting and repairing a roof.
Sub-Heading 3: Gathering the Necessary Tools and Equipment
Equipping yourself with the right tools is crucial for an effective roof inspection and repair. A sturdy ladder, safety harness, roofing nails, sealant, and a flashlight are among the essentials. Additionally, consider having a friend or family member present for assistance and safety.
Sub-Heading 4: Identifying the Source of the Leak
Locating the source of a roof leak can be a challenging task. Begin by inspecting the attic for signs of water stains or mold. Follow these signs to the exterior of the roof to pinpoint the location. On the roof, look for damaged or missing shingles, cracked flashing, or other visible issues that could be causing the leak.
Sub-Heading 5: Repairing Damaged or Missing Shingles
Damaged or missing shingles are a common cause of roof leaks. Carefully remove and replace any compromised shingles using roofing nails. Ensure the new shingles are securely fastened to prevent future issues. This simple repair can often solve the problem and extend the life of your roof.
Sub-Heading 6: Inspecting and Sealing Flashing
Flashing, which is the material installed to prevent water penetration around joints and seams, can deteriorate over time. Inspect the flashing for signs of damage or rust. If issues are detected, use roofing sealant to patch up the damaged areas. Properly sealed flashing is crucial for maintaining a watertight roof.
Sub-Heading 7: Examining Roof Vents and Chimneys
Roof vents and chimneys are vulnerable points for leaks. Check the seals and caulking around these structures for any cracks or gaps. Reapply sealant as needed to create a tight seal. This preventative measure can stop leaks before they become more serious issues.
Sub-Heading 8: Clearing and Repairing Gutters
Clogged gutters can contribute to roof leaks by preventing proper drainage. Regularly clean out your gutters and downspouts to ensure water flows freely. Repair any leaks or loose sections, and consider installing gutter guards to prevent debris buildup.
Sub-Heading 9: Performing a Final Inspection
After making repairs, perform a final inspection to ensure all issues have been addressed. Use a hose to simulate rainfall and check for any remaining leaks. Thoroughly examine the repaired areas, both inside and outside, to confirm the success of your DIY efforts.
Sub-Heading 10: Conclusion – A Leak-Free Home with DIY Roof Repair
By taking the initiative to inspect and repair roof leaks on your own, you not only save on potential repair costs but also gain a better understanding of your home’s roofing system. For more detailed guidance on how to inspect and repair roof leaks DIY, visit mimimises.org. With the right tools and knowledge, you can ensure a leak-free and well-protected home.