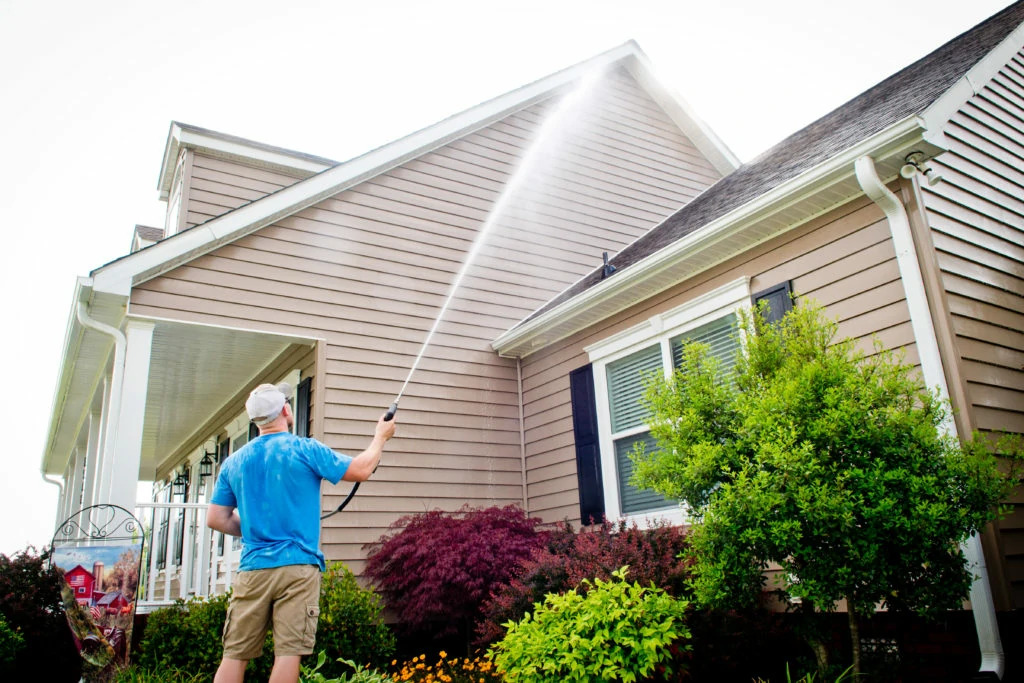

Introduction:
Power washing the exterior of your home is a highly effective way to remove built-up dirt, grime, and stains, restoring its appearance and curb appeal. This DIY guide will walk you through the process of power washing, ensuring that you achieve a clean and refreshed exterior without the need for professional help.
Understanding the Benefits of Power Washing:
Power washing provides numerous benefits beyond cosmetic improvement. It helps prevent the accumulation of mold, mildew, and algae, which can deteriorate surfaces over time. Additionally, it prepares the exterior for painting or staining, enhancing the longevity of these applications. Understanding these advantages sets the stage for a successful power washing project.
Gathering the Necessary Equipment:
Before embarking on the power washing journey, ensure you have the necessary equipment. A pressure washer, equipped with a suitable nozzle for the task, is the primary tool. Additionally, gather safety gear such as goggles and gloves, and check that your exterior surfaces are compatible with power washing. Certain materials may require a gentler approach to avoid damage.
Inspecting and Preparing Surfaces:
Begin by inspecting the surfaces you plan to power wash. Look for any signs of damage or areas that may need special attention. Cover or secure delicate plants, and close windows and doors to prevent water intrusion. If you have painted surfaces, ensure the paint is in good condition and not peeling, as power washing can exacerbate existing issues.
Choosing the Right Pressure Washer Settings:
Pressure washers come with various settings, including different pressure levels and nozzle options. Select the appropriate settings for the task at hand. Lower pressure and wider fan nozzles are suitable for more delicate surfaces, while higher pressure and narrower nozzles are effective for tougher stains on robust surfaces.
Starting with a Pre-Rinse:
Begin the power washing process with a pre-rinse. Use plain water to wet the surfaces, breaking down loose dirt and debris. This initial rinse helps prepare the area for the application of cleaning solutions and ensures a more effective overall cleaning process.
Applying Cleaning Solutions:
For particularly stubborn stains, mold, or mildew, consider applying a cleaning solution before power washing. Many pressure washers have a detergent attachment that can be used for this purpose. Alternatively, you can apply a suitable cleaning solution manually, allowing it to sit for a few minutes before proceeding with the power wash.
Using Proper Technique:
When power washing, maintain a consistent distance from the surface to avoid causing damage. Hold the nozzle at a slight angle rather than directly facing the surface, moving in smooth, overlapping strokes. Work from top to bottom, and keep a steady pace to ensure even cleaning. Be cautious around windows, delicate trim, and painted surfaces.
Addressing Specific Surfaces:
Different surfaces may require varying approaches. For concrete or brick, you can use higher pressure and more aggressive techniques. Wood siding or delicate surfaces may need lower pressure and a gentler touch. Adjust your technique accordingly to achieve the best results without causing damage.
Rinsing and Finishing Up:
Once you’ve completed the power washing process, thoroughly rinse the surfaces to remove any remaining cleaning solution and debris. Pay attention to details and hard-to-reach areas. Allow the surfaces to dry completely before assessing the results. You’ll likely be impressed by the transformation and cleanliness of your home’s exterior.
Conclusion:
Power washing the exterior of your home is a rewarding DIY project that can significantly enhance its appearance and prolong the life of surfaces. With the right equipment, proper technique, and attention to detail, you can achieve professional-looking results without the need for costly services. For a detailed guide on power washing the exterior of your home DIY, visit power wash the exterior of your home DIY. This resource provides additional tips and step-by-step instructions to help you successfully complete your power washing project.
