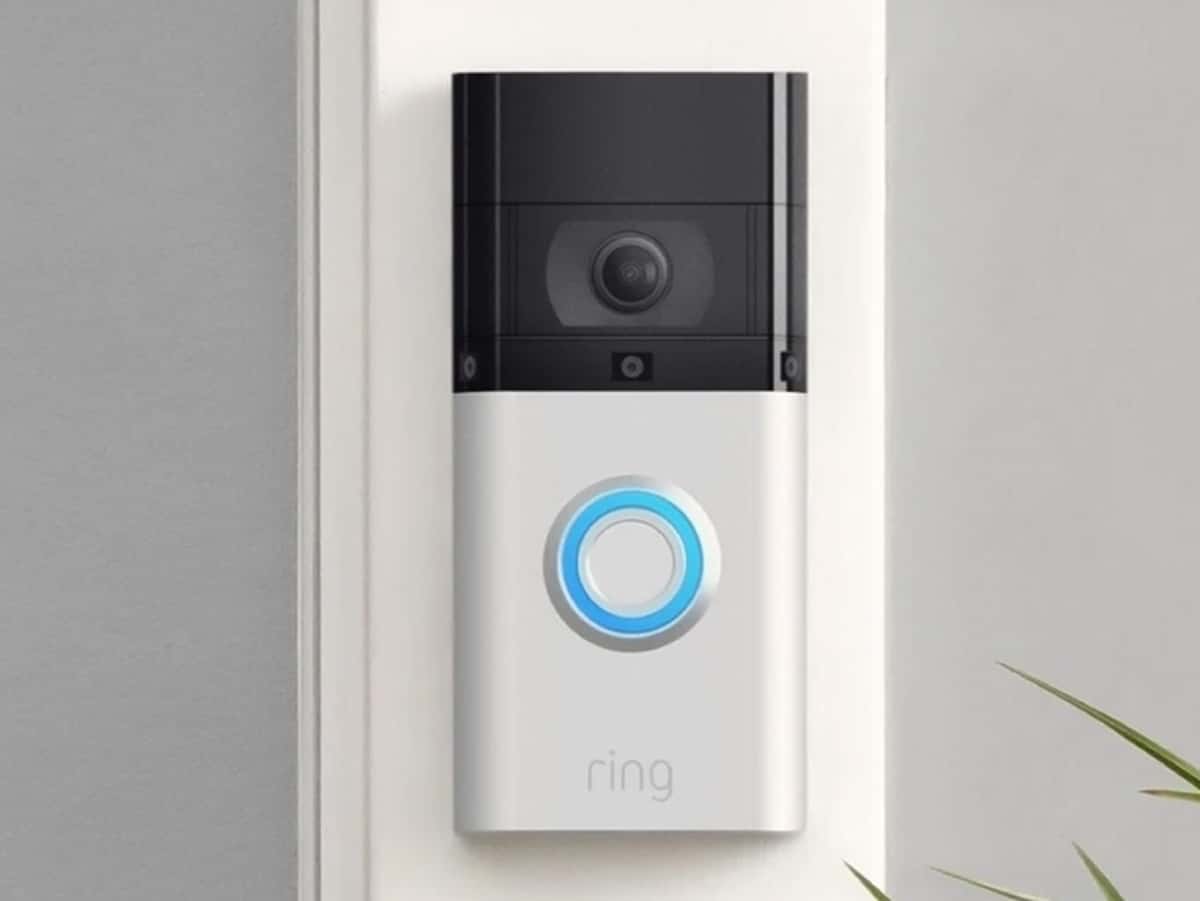

Easy DIY: Install Your Own Doorbell System
Embarking on a do-it-yourself project to install a doorbell can be a satisfying and rewarding experience. In this guide, we’ll take you through the step-by-step process of setting up your own DIY doorbell system, adding a touch of personalization to your home.
Gathering Your Tools and Materials
Before you begin the installation process, make sure you have all the necessary tools and materials. You’ll typically need a screwdriver, wire strippers, a voltage tester, and the doorbell kit itself. Ensure that the kit includes the doorbell button, chime, and any required wiring.
Choosing the Right Location for the Doorbell
Selecting the optimal location for your doorbell is crucial. Ideally, place it near the front entrance, ensuring it’s easily visible and accessible. Take into consideration the aesthetic appeal and practicality of the chosen spot, as it will serve as the first point of contact for visitors.
Turning Off the Power
Safety is paramount when dealing with electrical installations. Before beginning the installation, turn off the power at the circuit breaker to the area where you’ll be working. Use a voltage tester to ensure that the power is indeed off before proceeding.
Mounting the Doorbell Button
Start by mounting the doorbell button on the exterior side of the door. Use the provided screws to secure it in place. Ensure that it is level and securely attached, as this will be the component your visitors interact with to announce their presence.
Installing the Chime Inside Your Home
Next, find a suitable location inside your home to install the chime. Common locations include the foyer or hallway, where the sound can be easily heard throughout the house. Connect the wiring according to the manufacturer’s instructions, securing the chime in place.
Wiring the Doorbell System
Carefully follow the wiring instructions provided with your doorbell kit. Typically, this involves connecting the wires from the doorbell button to the corresponding terminals on the chime. Use wire strippers to expose the necessary length of wire and secure the connections tightly.
Testing the Doorbell System
After completing the wiring, turn the power back on and test the doorbell system. Press the button to ensure the chime sounds appropriately. If there are any issues, double-check the wiring and connections. Most kits come with troubleshooting guides to help you identify and resolve common problems.
Customizing Your Doorbell System
Many DIY doorbell kits offer customization options. Explore different chime sounds or melodies to personalize your doorbell system. Some advanced models even allow you to integrate smart features, connecting your doorbell to your smartphone for added convenience and security.
Adding the Finishing Touches
Once you are satisfied with the functionality of your DIY doorbell system, add any finishing touches. Conceal the wiring using clips or conduits to maintain a neat appearance. Consider painting or decorating the doorbell button to match your home’s exterior.
Enjoying the Fruits of Your DIY Labor
Congratulations! You’ve successfully installed your own doorbell system. Take a moment to appreciate the convenience and personal touch you’ve added to your home. Now, every ring of the doorbell will be a testament to your DIY skills.
In conclusion, installing a DIY doorbell system is a manageable and rewarding project for any homeowner. By following these steps and taking the necessary safety precautions, you can enhance your home’s entryway with a customized and functional doorbell system. For additional inspiration and resources, check out DIY install a DIY doorbell on our website.
