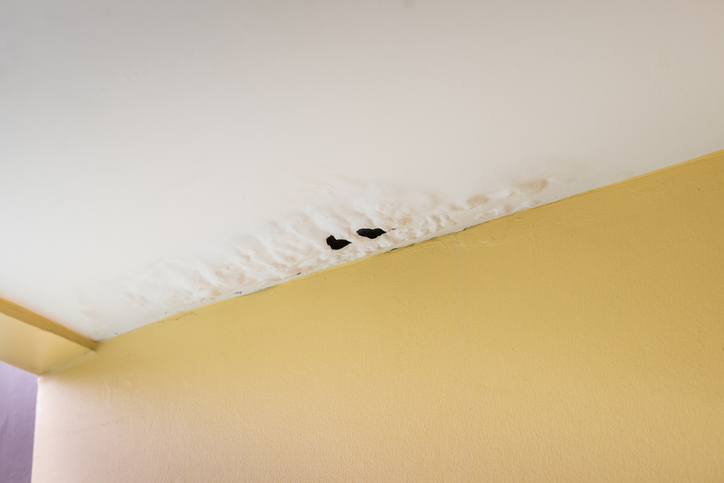

Introduction: Empowering Homeowners with DIY Drywall Repair
Repairing drywall damage on your own can be a gratifying and cost-effective solution, allowing you to restore the aesthetics of your home without the need for professional help. This guide will walk you through the steps, tools, and techniques to confidently undertake drywall repairs on your own.
Assessing the Damage: Understanding the Severity
Before diving into the repair process, assess the extent of the drywall damage. Identify whether it’s a small crack, hole, or a more significant issue. Understanding the severity of the damage helps determine the appropriate repair technique and the materials needed for the job.
Gathering Essential Tools and Materials
To execute a successful DIY drywall repair, gather the necessary tools and materials. Basic items include a putty knife, joint compound, sandpaper, a utility knife, and a drywall patch or mesh tape for larger holes. Having these essentials on hand ensures a smoother and more efficient repair process.
Preparing the Damaged Area: Clean and Smooth Surfaces
Prepare the damaged area by cleaning it thoroughly. Remove any loose debris, dust, or old drywall tape. For a smooth repair, ensure the surrounding surfaces are clean and free from any impediments. This step is crucial for proper adhesion of the repair materials.
Filling Small Holes and Cracks: Applying Joint Compound
For small holes and cracks, use joint compound to fill the damaged area. Apply the compound with a putty knife, spreading it evenly over the surface. Feather the edges to blend with the surrounding wall. Allow the compound to dry completely before sanding the area to achieve a smooth finish.
Patching Larger Holes: Using Drywall Patch or Mesh Tape
Larger holes require a slightly different approach. Use a drywall patch or mesh tape to cover the damaged area. Apply joint compound over the patch or tape, smoothing it out with a putty knife. This technique reinforces the repair, providing additional strength to the damaged section.
Sanding for a Seamless Finish
Once the joint compound is dry, sand the repaired area to achieve a seamless finish. Use fine-grit sandpaper to smooth the surface and blend the repair with the surrounding drywall. Take your time during this step to ensure a professional-looking result.
Priming and Painting: Restoring Aesthetics
After sanding, prime the repaired area to create a uniform surface for painting. Once the primer is dry, apply paint to match the existing wall color. This final step restores the aesthetics of your wall, making the repair virtually invisible.
Tips for Common Drywall Issues: Navigating Challenges
While minor drywall damage can often be addressed with the steps mentioned, some issues may require additional attention. Learn how to tackle common challenges such as nail pops, corner bead damage, or water stains to comprehensively address drywall issues in your home.
Safety Considerations: Protective Measures
Throughout the DIY drywall repair process, prioritize safety. Wear protective gear, including safety glasses and a dust mask, especially during sanding. Adequate safety measures ensure a secure and healthy environment while working on your drywall repairs.
Knowing When to Seek Professional Help: Evaluating Complexity
While DIY drywall repair is feasible for many homeowners, there are instances where professional assistance may be necessary. Evaluate the complexity of the damage, and if you feel unsure or encounter challenges beyond your expertise, seeking professional help ensures a thorough and expertly executed repair.
Conclusion: Mastering DIY Drywall Repair with Confidence
In conclusion, mastering DIY drywall repair empowers homeowners to address minor damages confidently. Click here for additional resources on DIY drywall repair. By understanding the steps, gathering the right tools, and following safety precautions, you can restore the integrity and aesthetics of your walls, saving both time and money. Embrace the satisfaction of a job well done and the newfound confidence in tackling home repairs on your own.
