Introduction: Empowering Homeowners to Tackle Roof Leaks DIY
When faced with a roof leak, the idea of inspecting and repairing it yourself may seem daunting. However, with the right knowledge and guidance, homeowners can successfully address roof leaks without the need for professional assistance. In this comprehensive guide, we’ll explore step-by-step instructions to inspect and repair roof leaks, allowing you to safeguard your home and wallet.
1. Understanding the Signs of a Roof Leak
Before delving into the repair process, it’s crucial to recognize the signs of a roof leak. Water stains on the ceiling, damp walls, or mold growth are indicators that your roof may be compromised. Identifying these signs early allows for prompt action, preventing further damage to your home’s interior and structure.
2. Safety First: Preparing for DIY Roof Inspection
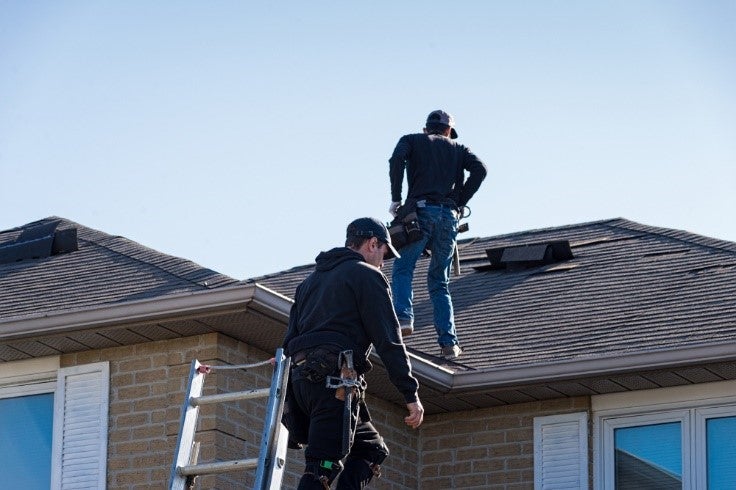
Safety is paramount when working on your roof. Before climbing up, ensure you have a sturdy ladder and appropriate safety gear, including non-slip shoes and a harness if needed. Choose a calm and dry day to perform the inspection, and inform someone about your plans for added safety.
3. Step-by-Step Roof Inspection Process
Begin the inspection by examining the roof from ground level. Look for missing or damaged shingles, as well as signs of sagging or uneven areas. Ascend the ladder to get a closer look. Check for cracks, holes, or displaced shingles. Pay attention to flashing around chimneys and vents, as these areas are prone to leaks. Document your findings to guide the repair process.
4. Identifying Common Roof Leak Culprits
Roof leaks can originate from various sources. Common culprits include damaged or missing shingles, cracked flashing, clogged gutters, and deteriorated seals around vents and chimneys. Identifying the specific issue is crucial for an effective and targeted repair.
5. DIY Repair Techniques for Common Roof Issues
For damaged or missing shingles, replacement is key. Lift the damaged shingle, remove the nails, and slide in a new shingle, securing it in place. Cracked flashing can be sealed with roofing cement, while clogged gutters should be cleared to ensure proper water drainage. Apply new sealant around vents and chimneys to restore watertight seals.
6. Using Roofing Cement: A DIY Sealant Solution
Roofing cement is a versatile tool in DIY roof leak repair. It can be used to seal cracks, gaps, and secure flashing. Apply the roofing cement with a putty knife, ensuring a smooth and watertight seal. This cost-effective solution is readily available at hardware stores and proves invaluable in addressing various roof issues.
7. Prevention is Key: Regular Roof Maintenance
Preventing future roof leaks involves proactive maintenance. Regularly clean gutters, trim overhanging branches, and inspect your roof at least twice a year. Promptly address any minor issues to prevent them from escalating into more significant problems. A proactive approach to maintenance prolongs the life of your roof and minimizes the risk of leaks.
8. When to Seek Professional Help
While many roof leaks can be addressed through DIY efforts, there are instances where professional assistance is necessary. If you’re uncomfortable with heights, encounter extensive damage, or if your roof is still under warranty, it’s wise to consult a professional roofer. Their expertise ensures a thorough and lasting solution to complex roofing issues.
Conclusion: DIY Success in Roof Leak Inspection and Repair
Empowered with knowledge and guided by a step-by-step approach, homeowners can successfully inspect and repair roof leaks on their own. Regular maintenance and prompt attention to issues contribute to a watertight and resilient roof. For additional insights and tips on how to inspect and repair roof leaks on your own, visit mimimises.org. Take control of your home’s protection and embrace the satisfaction of a well-maintained roof.


:max_bytes(150000):strip_icc()/GettyImages-168450140-57a260d65f9b589aa937eef5.jpg)


